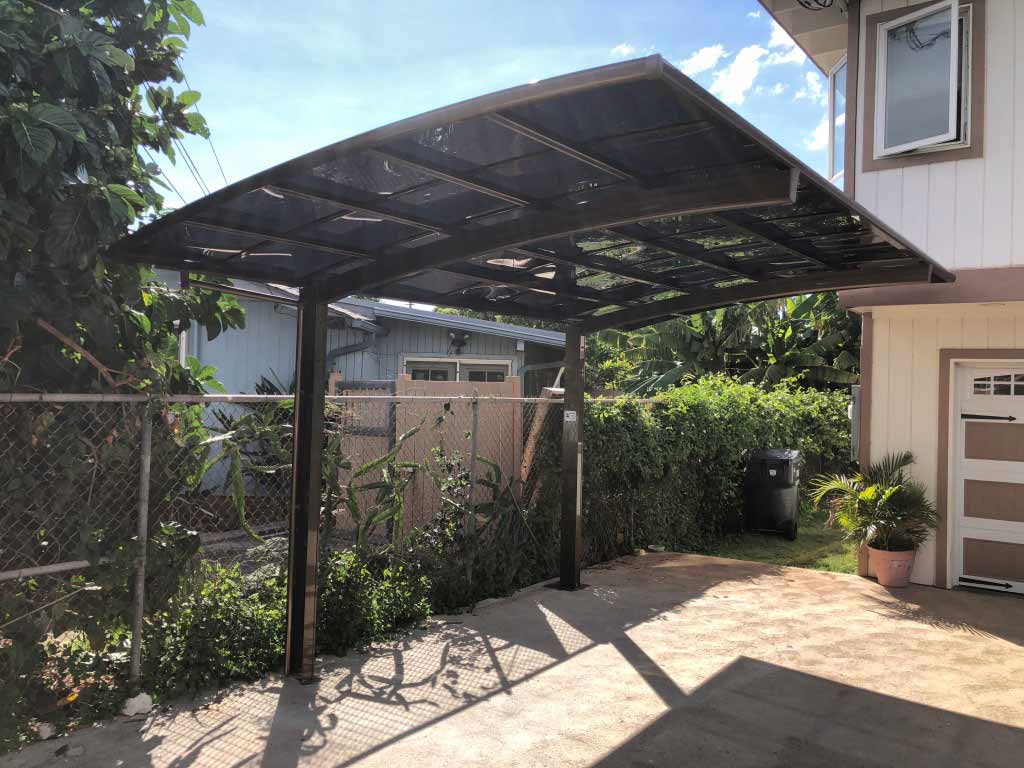
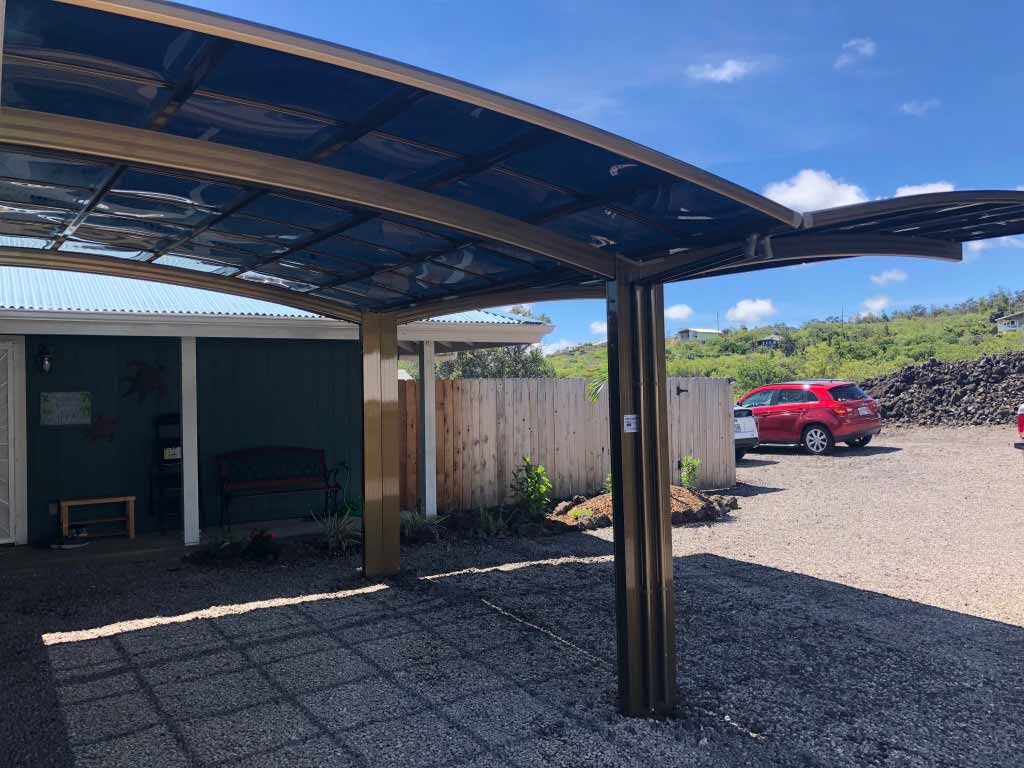
STEPS FOR INSTALLING A CARPORT BY YOURSELF (DIY)
Aluminum carports provide a covered space to park your vehicle or store your belongings. If you are considering a durable and affordable aluminum carport, you may wonder if aluminum carport installation is something you can complete on your own. Installing a carport is something that you can do on your own if you know how to do it. Read on to learn more about DIY carport installation and the steps you need to follow.
Step 1: Check In With Your Local Building Inspector
The first step to installing a carport, whether by yourself or with a professional, is to check with local building inspectors. You need to find out what building code regulations are in your area and whether you need to obtain a permit to build aluminum carports on your property. You also want to ensure that your property is correctly zoned to install an aluminum carport. If you do not obtain the necessary permits before construction begins, you may have to remove the carport once it is completed, and/or your local city or county may fine you. As such, you are obtaining all permits before starting your project is crucial.
Step 2: Decide Which Carport Size is Best For You
The next thing you need to do is decide which carport size is ideal for you. There are so many carport size options in the market, and it can be overwhelming.
You need to consider not only the size of the vehicle or vehicles you cover but also the size of the space available to install a carport. Most people select a carport that is a bit larger than the size of the vehicle to ensure they have enough space to enter and exit doors or unload the trunk of the vehicle while still remaining covered.
Step 3: Select Between An Aluminum or Steel Carport
When choosing a carport, you must decide between an aluminum or steel carport. Each metal option has unique pros and cons and learning about these pros and cons can help you select the suitable material. However, for most people, aluminum carports offer more benefits than steel carports. Aluminum carports are more affordable than steel carports. Aluminum is also lighter than steel, making DIY carport installation easier with aluminum. Aluminum is also naturally rust-resistant, which helps to protect the carport from rust problems in the future.
Step 4: Leveling an Area Before You Start Installing Your Carport
Once you have selected the DIY carport kit that is the best size and material for you, you will need to start the process of leveling the area. Having a level area is extremely important, as this is the base or foundation that your vehicle will be parked on when the carport is complete. Many people opt for either a dirt foundation, gravel foundation, concrete foundation, or asphalt foundation. Regardless of which option you select, the basic steps of leveling your carport are the same.
You want to start the process of leveling an area by clearing the area of trash, debris and weeds. From there, you should call local utility companies to ensure there are no utility lines underneath the space you will be working with. Once that has been done, you want to place stakes in the ground and use twine or string to define the exact dimensions for your carport foundation. From there, you can start leveling the ground and installing the dirt, gravel, concrete, or asphalt materials that will make up the base of your carport.
Step 5: Gather the Tools You Need to Start Installing Your Carport
Now that you have a foundation, you are ready to begin the process of installing a carport. The very first step is to gather up all of the tools you will need. Many different tools are used to install an aluminum carport. The tools you need may vary slightly depending on the DIY carport kit you purchase. A carport kit should always include a list of tools you will need, so pay close attention to those tools and gather them up. Some of the most common tools that are used when installing a carport include:
- Grinder
- Hammer drills
- Ladders or lifts
- Laser level
- Power drill
- Rivet Gun
- Safety gear
- Screws
- Sockets and Spanners
- Tape measure
- Tin snips
Step 6: Installing Your Carport
Prior to installing your carport, ensure that your carport foundation is completely cured or hardened. Never attempt to install a carport if your foundation is not yet cured. Once you have ensured that your foundation is completely hardened, you can begin the process of DIY carport installation.
The first step in installing your carport is to read the installation manual that comes with your do it yourself carport kit. Always read through the entire instruction manual so you have a relative idea of the order in which things will go and the specific steps that will be followed. The installation steps typically look like this:
- Anchoring and assembling the base rails
- Incorporating the trusses and vertical frames
- Binding the trusses and vertical frames to the base rails
- Affixing the roof panels to your carport frame
- Relaxing and enjoying your carport or patio cover
Always follow the specific directions that come with your do it yourself aluminum carport kit. If your carport comes with a warranty, you can void the warranty if you do not follow the instructions carefully.
DIY carport installation is a large project, but if you take things to step by step, you can complete the project on your own. Once your carport is assembled, do not forget to check out our guide to learn how to protect your carport best. This is important to helping your carport last. If you are ready to get started installing a carport, you must first buy a DIY carport kit. Visit our website today to get started.